Deploying the Automox Agent to Intune-enrolled Devices
This article describes how to deploy the Automox agent to Intune-enrolled devices.
Prerequisites: The following applications are required to deploy the Automox agent to Intune-enrolled devices:
- Intune
- Microsoft Endpoint Manager
- Azure AD, P1 or P2 Enterprise License.
- Microsoft 365 E3, E5, F1, F3, G3, or G5 license for end users.
- Intune/Endpoint Manager administration role in Azure AD.
Video Walkthrough
https://university.automox.com/microsoft-intune-instructions/1072541
Procedure
- Log into your AzureAD Instance: https://aad.portal.azure.com/
- Create a target group for the application deployment.
- Select All Groups > New group.

- Select All Groups > New group.
- Specify the group type, name, description, and membership type.
- Optional, add your group members (devices) at this time.
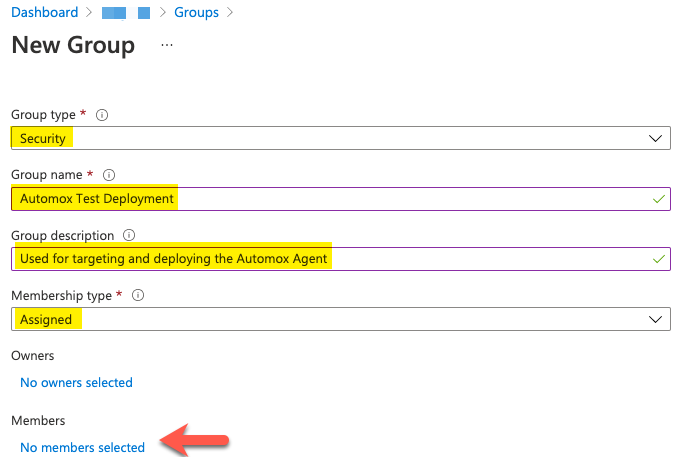
- Optional, add your group members (devices) at this time.
- Open Microsoft Endpoint Manager: https://endpoint.microsoft.com/
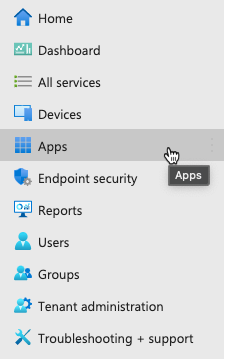
- Click Apps on the left-hand panel.
- Select your target operating system platform (our example targets Windows devices).

- Click Add.

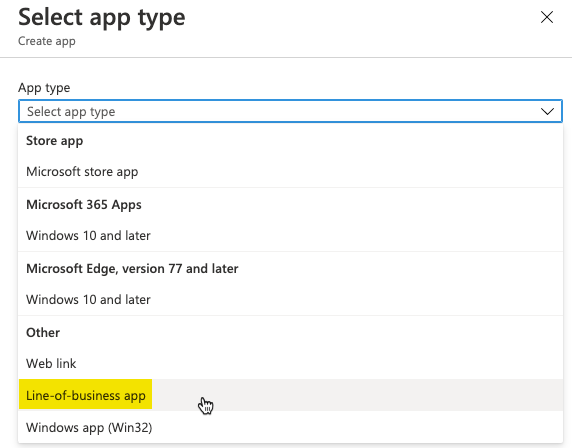
- Select LOB (line of business) app from the drop-down menu and click Select to confirm.
- Click Select app package file then click the blue folder icon from the new window that opens. Select your Automox MSI installer file. Click OK.
Note: The latest Automox installation media for Windows can be found here: https://console.automox.com/installers/Automox_Installer-latest.msi

- Confirm your application deployment variables. Set the required Publisher field and any other optional fields.

- Enter the command-line argument as noted, where ACCESSKEY is the key to your Automox organization.Copy
/qn /norestart ACCESSKEY=XXXXXXXXXXXXXX
- Enter the command-line argument as noted, where ACCESSKEY is the key to your Automox organization.
- See Managing Organization Keys for information about finding your access key.
- To target a specific Automox server group, append
GROUP="groupname"to the command line arguments. For example, to target the “Test” server group, use this command line argument:Copy/qn /norestart ACCESSKEY=XXXXXXXXXXXXXX GROUP="Default Group/Test" -
Your destination group can either be under a parent group or stand alone. A parent group parameter is only required if the destination group is under a parent group. If you do not specify a parent group, it ignores the group assignment. When the group is the child of a child group, use the following syntax:
GROUP="Default Group/Parent Group/Child Group" - After completing the app information page, click next to associate your target groups. Select Add Group under Required. Locate the target you created. Select and confirm it, and click Next.

- Optionally, instead of targeting a specific group you can select the Add all device option to target all devices within your Azure AD instance.
- Review your app configuration and click Create.


- A confirmation notice is sent when the MSI has been uploaded and the application package has been finalized.

- The next time your Intune-enrolled devices that are within your target group check in/sync, they download and install the Automox agent based on the application package that was just created.
